12 Amazing DIY Bedroom Decor Ideas and Creative Touches
Remember that time you scrolled through Pinterest for three hours straight, saving bedroom ideas you’d never actually make? Yeah, me too. But here’s the thing – I actually tried these DIY projects, and they’re surprisingly doable. No fancy tools required, no engineering degree needed, and best of all, your wallet won’t hate you afterward.
Let’s be real here. Your bedroom should be your sanctuary, not that place where you dump clean laundry and pretend the chair doesn’t exist. These 12 DIY bedroom decor ideas will help you create a space that actually makes you want to spend time there – and maybe even make your bed in the morning. (Okay, let’s not get crazy.)
Floating Shelves with Hidden Lighting
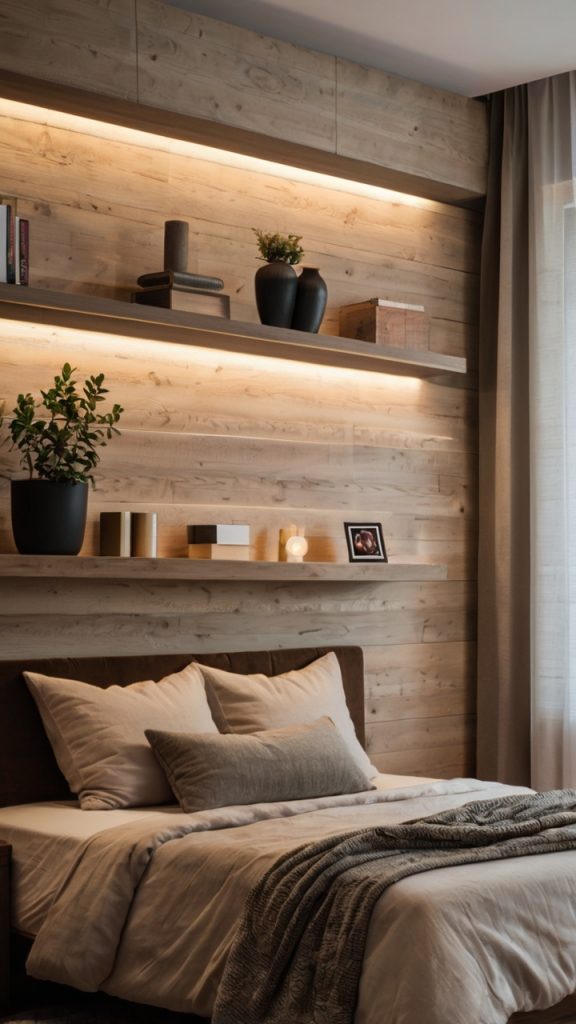
You know what’s better than regular floating shelves? Floating shelves that glow like they’re powered by fairy magic. I installed these bad boys last month, and now everyone thinks I’m some kind of interior design genius. Spoiler alert: I’m not.
Here’s what makes this project so brilliant. You grab some basic wooden shelves from your local hardware store, add LED strip lights underneath, and boom – instant ambiance. The whole setup cost me about $40, and it took maybe two hours tops. Compare that to those fancy designer shelves that cost hundreds, and you’ll see why this hack is pure gold.
The trick is choosing warm white LED strips instead of those harsh cool whites that make your room look like a hospital. I learned that the hard way. Trust me, you want that cozy glow, not interrogation room vibes. Mount them at different heights for visual interest, and suddenly your boring wall transforms into a design feature.
Installation Tips That Actually Work
Want to know the secret nobody tells you? Use a stud finder. I know, I know – it sounds obvious. But I tried to eyeball it the first time, and let’s just say my books had a very exciting journey to the floor at 2 AM. Not fun.
Also, hide those LED wires by running them behind the shelf brackets. Nothing ruins the floating illusion faster than visible cables dangling everywhere. A little cable management goes a long way, and your future self will thank you when you’re not staring at wire spaghetti every night.
Customized Wall Art Gallery
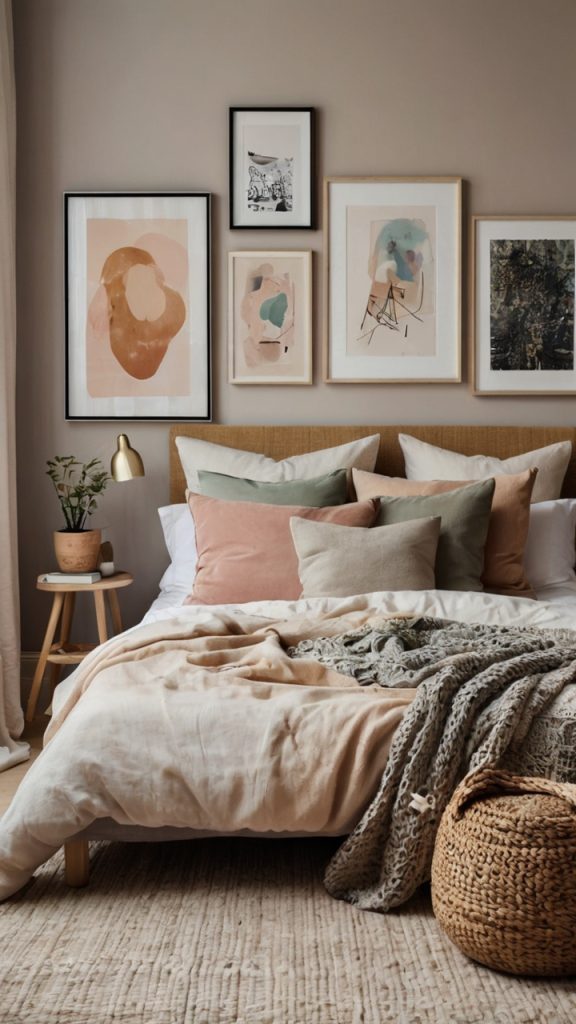
Ever walked into someone’s home and thought, “Wow, they must have spent a fortune on art”? Here’s a little secret – they probably didn’t. Creating a customized wall art gallery is ridiculously easy and costs next to nothing if you’re smart about it.
I started my gallery wall with free printables from design blogs. Seriously, there are thousands of gorgeous designs just waiting to be downloaded. Print them at home or splurge on professional printing (still cheaper than buying actual art). Mix in some personal photos, maybe a vintage poster you found at a thrift store, and you’ve got yourself a gallery that tells your story.
The magic happens in the arrangement. Don’t just slap frames on the wall randomly – unless chaos is your aesthetic, then go for it. I cut out paper templates first and taped them to the wall. This way, I could play around with the layout without putting seventeen unnecessary holes in my wall. Been there, done that, still finding spackle in weird places.
Frame Hacks That’ll Save You Money
Thrift stores are goldmines for frames. I’m talking solid wood frames for $2 that would cost $30 new. Sure, they might be sporting some questionable ’80s artwork, but that’s what spray paint is for. A can of matte black spray paint transformed my mismatched frame collection into a cohesive, sophisticated display.
Mix different frame sizes and styles for that collected-over-time look. Throw in a small mirror or two between the artwork. It breaks up the visual monotony and makes your room feel bigger. Plus, you can check your hair without leaving bed. Win-win.
Handmade Macrame Wall Hanging
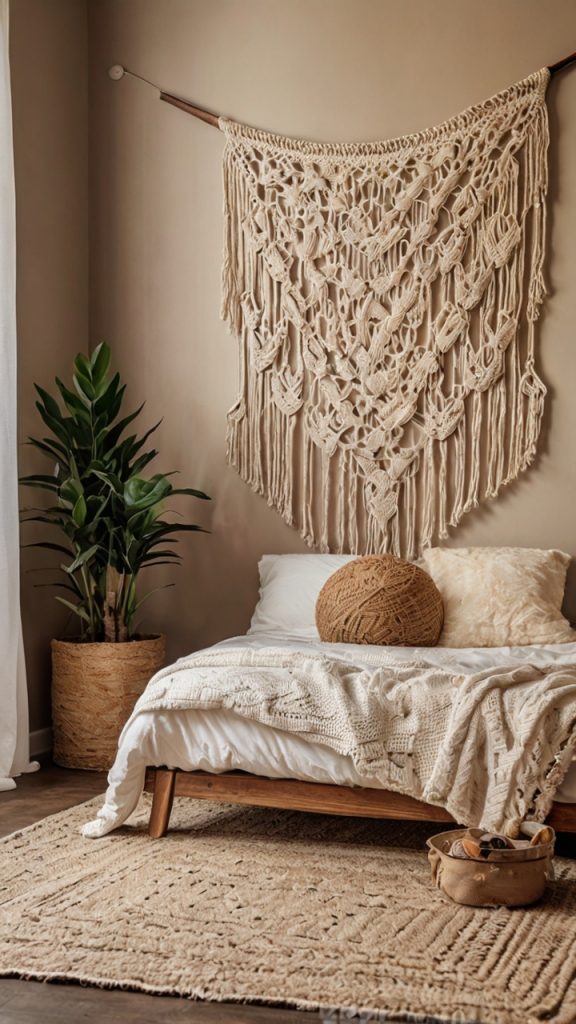
Okay, hear me out before you roll your eyes. I know macrame screams “1970s basement,” but modern macrame is having a serious moment. And honestly? Making your own macrame wall hanging is weirdly therapeutic. It’s like adult friendship bracelets, but cooler.
You only need cord, a wooden dowel, and YouTube tutorials. That’s it. My first attempt looked like a tangled mess (think: cat got into yarn), but by the third try, I created something I’d actually pay money for. The best part? Each knot you tie is basically free therapy. Stressed about work? Tie some knots. Can’t stop thinking about that embarrassing thing you did in 2012? More knots.
I hung mine above my bed as a headboard alternative. It adds texture without overwhelming the space, and guests always ask where I bought it. The smug satisfaction of saying “I made it” never gets old. FYI, the whole project cost about $15 and took one Netflix binge session to complete.
Also Read: 15 Stunning Shelf Decor Bedroom Ideas to Transform Your Space
DIY Headboard from Reclaimed Wood
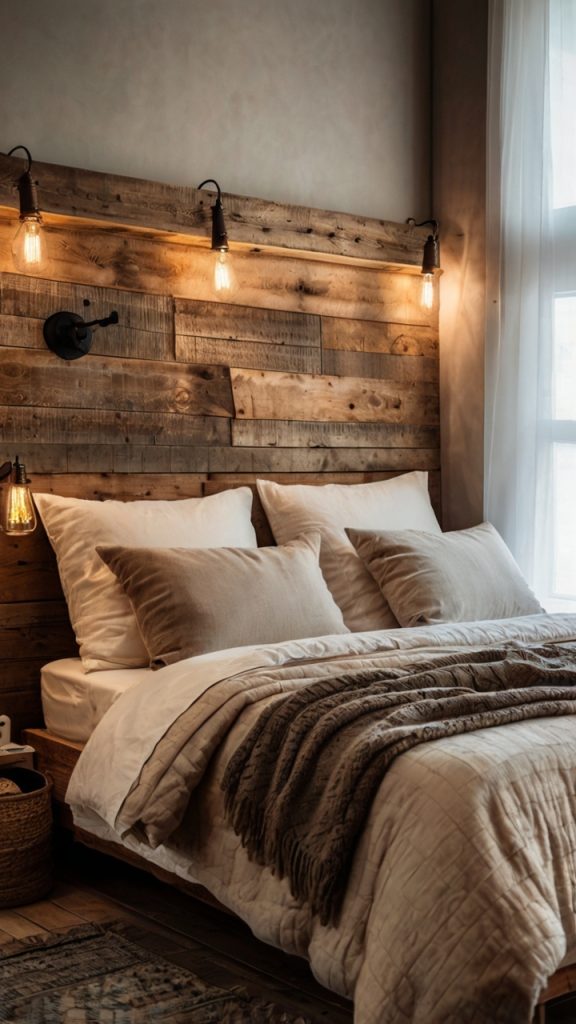
Speaking of headboards, let’s talk about creating one from reclaimed wood. This project single-handedly transformed my bedroom from “college dorm chic” to “I have my life together” adult space.
I found old fence boards on Facebook Marketplace for free. FREE! Someone was literally giving away what would become my bedroom’s focal point. After some sanding, staining, and arranging, I had a headboard that looked like it came from a boutique hotel. The rustic texture adds so much character, and no two boards are exactly alike.
The installation scared me at first. How do you attach giant pieces of wood to a wall without it falling and crushing you in your sleep? Turns out, it’s surprisingly simple. French cleats are your best friend here. They distribute the weight evenly and keep everything secure. I sleep soundly knowing my DIY creation won’t become a midnight disaster.
Finishing Touches That Make the Difference
Don’t just slap raw wood on your wall and call it a day. Sand those boards until they’re smooth enough that you won’t get splinters from leaning against them. Trust me on this one – I learned through painful experience.
I used a dark walnut stain on mine, but you could go lighter for a beachy vibe or even paint them for a more modern look. Add some LED backlighting behind the headboard for extra ambiance. It creates this gorgeous halo effect that makes bedtime feel special. Who needs a five-star hotel when you’ve got mood lighting?
Upcycled Furniture Makeover
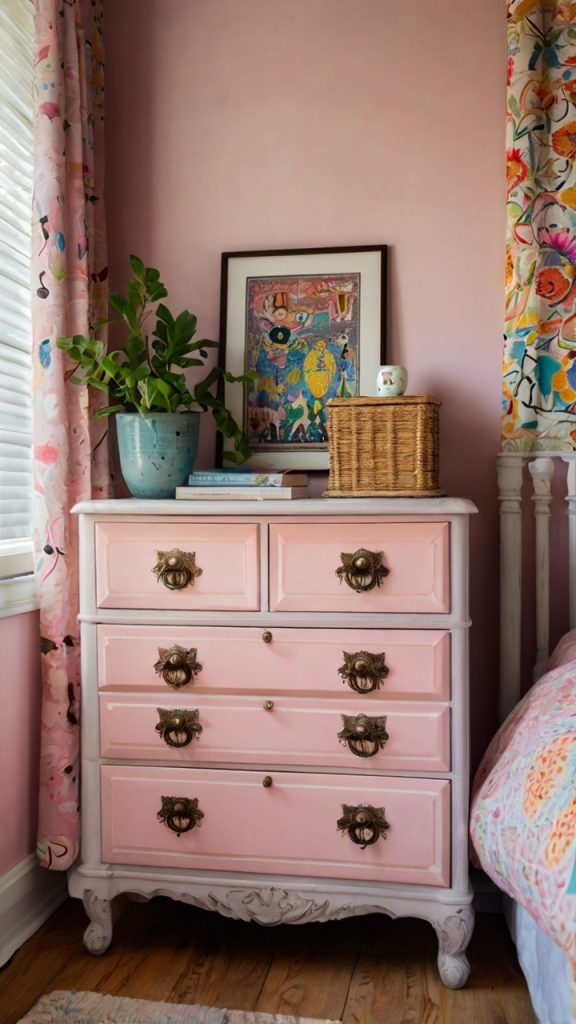
That dresser your grandma gave you? The one that’s solid wood but looks like it survived the Great Depression? It’s a goldmine waiting to be transformed. Upcycling furniture is my favorite weekend activity because the before-and-after photos are always shocking.
I transformed a $20 thrift store nightstand into something that looks like it belongs in a West Elm catalog. New hardware, some chalk paint, and a bit of sanding gave it completely new life. The satisfaction of taking something destined for the landfill and making it beautiful? Priceless. Plus, you get furniture that nobody else has.
Here’s what most people don’t realize: old furniture is usually better quality than new stuff. That particle board dresser from IKEA won’t last five years, but grandma’s solid oak piece? That thing will outlive us all. Give it some love, and it’ll serve you for decades.
Paint Techniques That Actually Look Professional
Forget everything you think you know about painting furniture. You don’t need to be an artist. Chalk paint is basically foolproof – it sticks to everything, covers imperfections, and gives you that trendy matte finish everyone’s obsessed with.
Want to get fancy? Try the two-tone trend. Paint the body one color and the drawers another. Or do what I did: paint everything white and add wooden drawer fronts for that Scandinavian minimalist vibe. Suddenly, your free roadside find looks like designer furniture.
String Light Canopy Over Bed
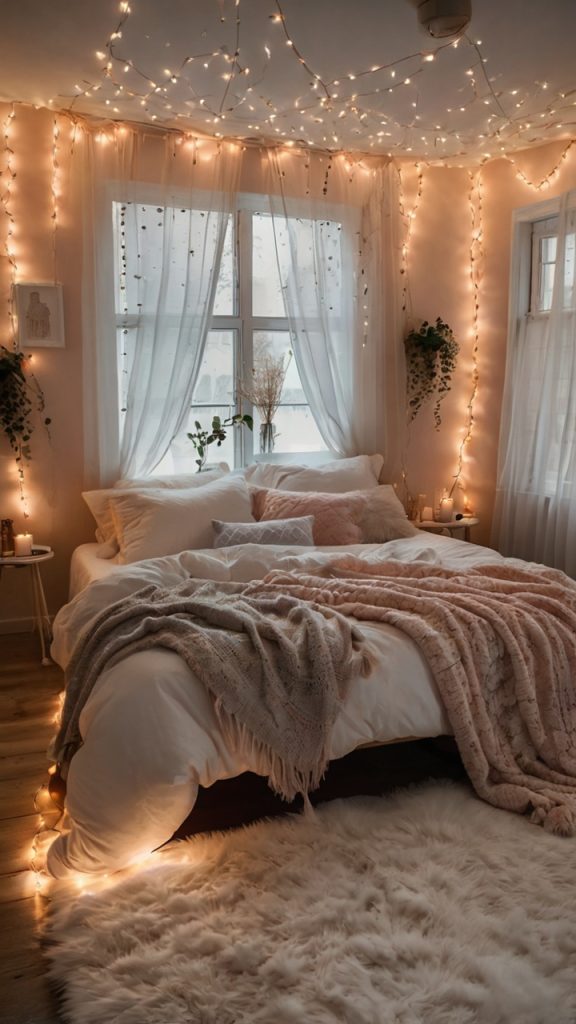
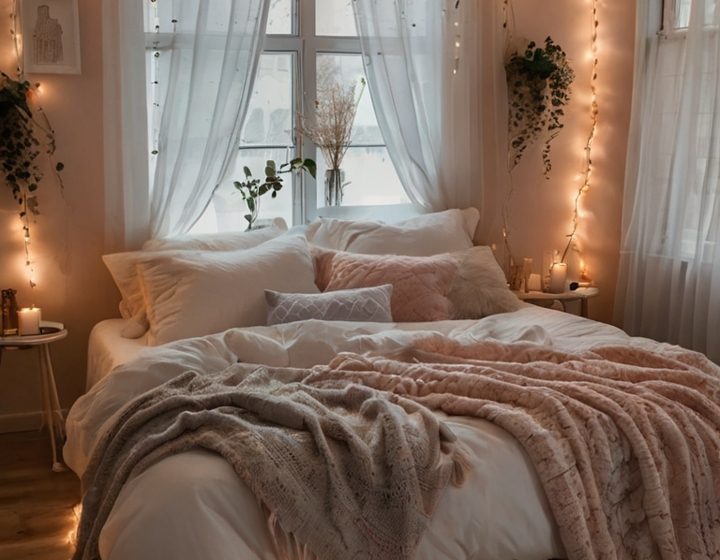
Remember being a kid and making blanket forts? A string light canopy is basically the grown-up version, except better because you don’t have to take it down before your parents get home.
I created mine using sheer curtains and warm white string lights. The whole setup cost less than $30 and transformed my bedroom into this dreamy, ethereal space. It’s like sleeping in a fairy tale, minus the weird talking animals and evil stepmothers.
The key is layering. Don’t just throw up some lights and call it done. I used curtain rods mounted to the ceiling to create the frame, draped sheer fabric over them, then wove the lights through. The effect at night? Pure magic. It’s romantic without being cheesy, cozy without being cluttered.
Installation Without Destroying Your Ceiling
Worried about putting holes in your ceiling? I get it. If you’re renting, try removable adhesive hooks rated for the weight you’re hanging. They work surprisingly well and won’t cost you your security deposit.
For a more permanent solution, ceiling hooks screwed into studs or drywall anchors work perfectly. Space them evenly for the best draping effect. And please, for the love of all that’s holy, use LED lights. Traditional string lights get hot, and nobody wants to explain to their landlord why the ceiling caught fire.
Also Read: 15 Amazing Boys Bedroom Decor Ideas for Fun and Style
Personalized Photo Collage Wall
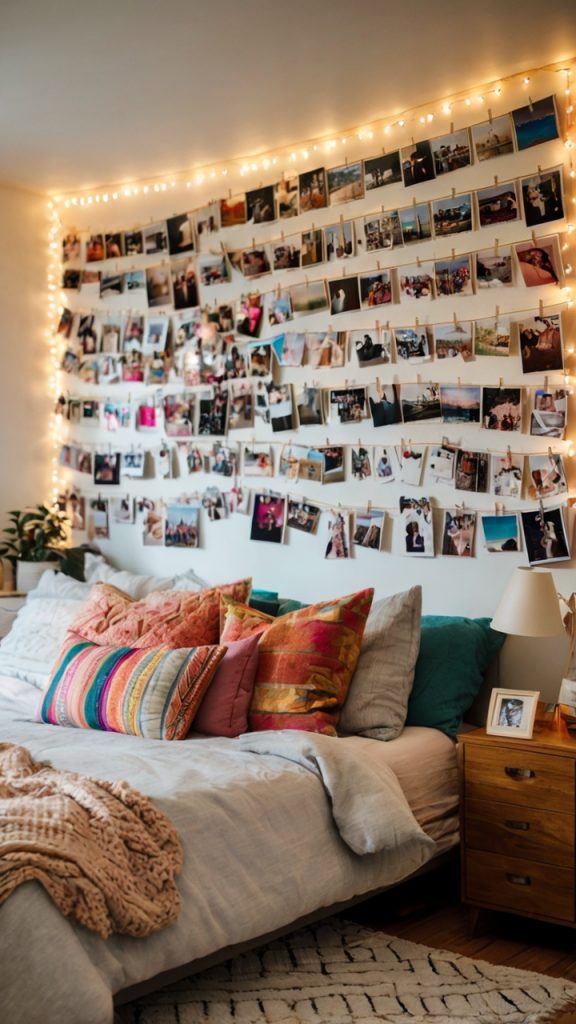
Instagram might have killed the printed photo, but physical photo displays are making a comeback. And honestly? There’s something special about seeing your memories on actual walls instead of just your phone screen.
I created a photo collage using a mix of Polaroids, printed phone photos, and even some old family pictures I found in a box. The trick is mixing sizes and orientations. Don’t make it too perfect – the slightly chaotic arrangement gives it personality. Think of it as organized chaos, like your life but prettier.
Instead of frames, I used washi tape, clips, and string. It’s cheaper, easier to change, and gives that casual, lived-in vibe that makes a bedroom feel personal. Plus, when you want to update it, you’re not dealing with a million nail holes.
Painted Geometric Accent Wall
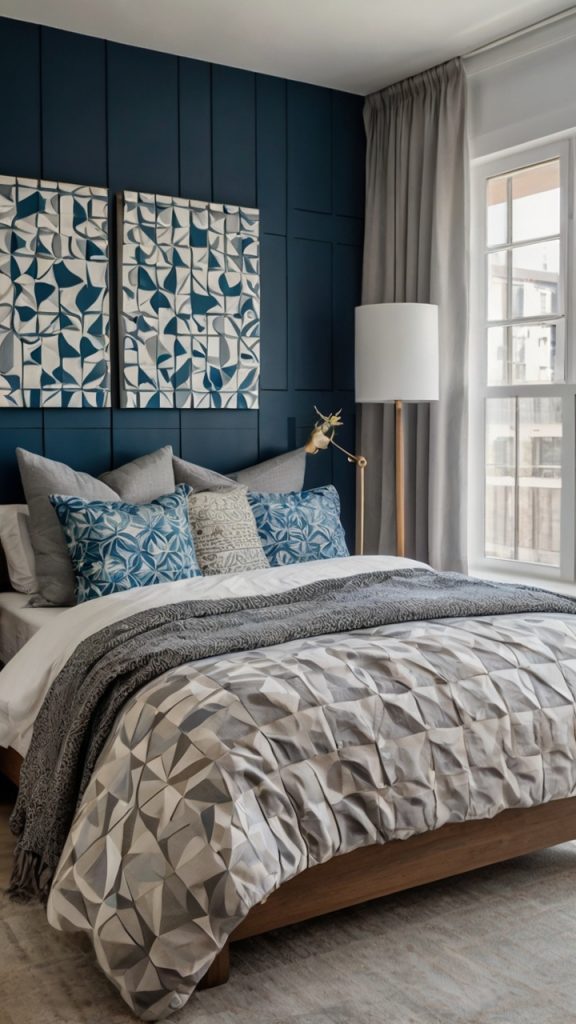
Who says you need wallpaper for a statement wall? Painting geometric patterns is easier than you think, and the impact is huge. I turned my boring beige wall into a work of art with just painter’s tape and three paint colors.
The secret weapon? FrogTape. This stuff is like painter’s tape on steroids – it creates sharp, clean lines that’ll make you look like a pro. I went with a mountain range design because I can’t actually afford to live near mountains, but triangles and hexagons work great too.
Choose colors that complement your bedding. I used three shades of blue for an ombre effect, but you could go bold with contrasting colors or subtle with different shades of the same color. The whole project took a weekend and cost about $40 in supplies.
Measuring and Planning (So You Don’t Mess Up)
Here’s where people usually fail: not planning the pattern first. I sketched my design on graph paper, then used a pencil to lightly mark the wall. Yes, it’s an extra step. No, you can’t skip it unless you want wonky triangles.
Use a level. Seriously. Your eyes will lie to you, and you’ll end up with crooked lines that’ll haunt you every night. I learned this lesson the hard way and had to repaint an entire section. Not my finest moment.
Fabric-Covered Bulletin Board
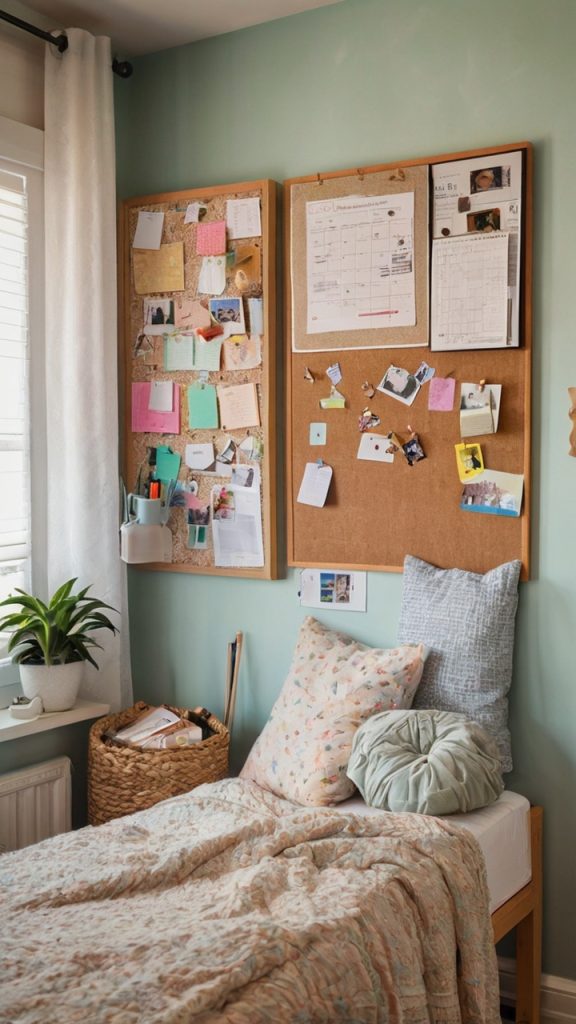
That cork board from college doesn’t have to look like… well, a cork board from college. Covering it with fabric instantly elevates it from dorm room to design element.
I used a bold patterned fabric that tied into my bedding colors. The transformation took fifteen minutes and cost less than a fancy coffee. Now I have a stylish place to pin inspiration photos, concert tickets, and passive-aggressive notes to myself about adulting.
Making It Functional AND Pretty
The trick is choosing the right fabric. Avoid anything too thick – you still need pins to go through easily. Cotton or linen works perfectly. I added ribbon in a crisscross pattern for extra visual interest and to tuck papers behind without pins.
Mount several boards in a grid pattern for maximum impact. Or go rogue and arrange them asymmetrically. There are no rules here. Well, except maybe don’t use that fabric with the cats wearing sunglasses. Unless that’s your thing. Then absolutely use it.
Also Read: 15 Stunning Shelf Decor Bedroom Ideas to Transform Your Space
DIY Indoor Plant Corner
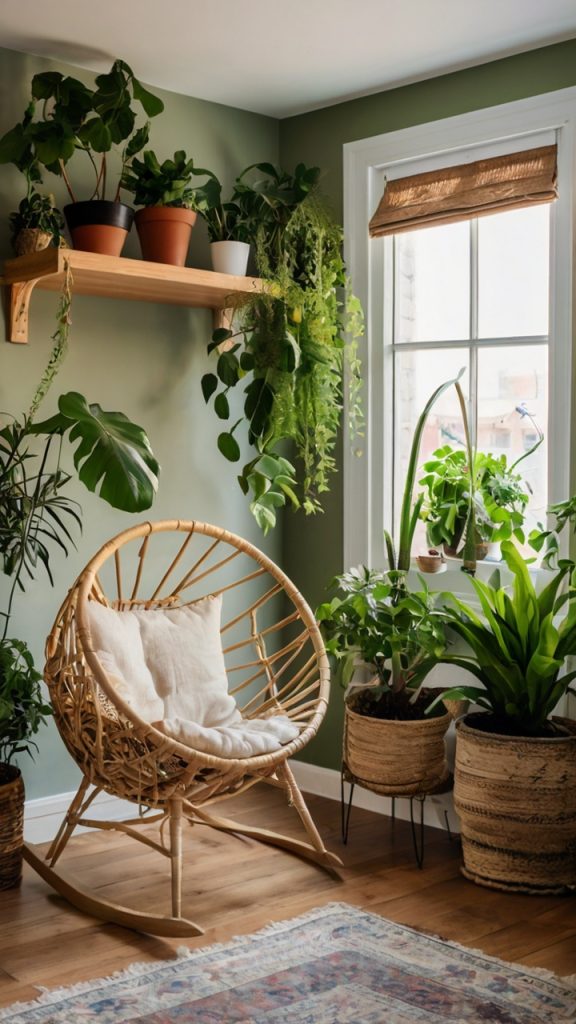
Plants are having a moment, and for good reason. They clean your air, boost your mood, and make you look like you have your life together. Even if you’ve killed every plant you’ve ever owned (guilty), you can create a thriving plant corner.
I built a simple ladder shelf from two wooden ladders and some boards. Total cost: $25. It holds all my plants at different heights, creating this lush, jungle-like corner that makes me feel like a botanical goddess. The secret to not killing them? Start with pothos, snake plants, and ZZ plants. These things survive on neglect and spite.
Mix different pot sizes and styles for visual interest. I spray-painted cheap terracotta pots in metallic colors, and suddenly my plant corner looked intentional instead of “I have a plant problem.”
Maximizing Light and Space
Not blessed with amazing natural light? Grow lights disguised as regular lamps are your new best friend. I have one that looks like a sleek floor lamp, and my plants are thriving even in my north-facing bedroom.
Create levels using plant stands, hanging planters, and wall-mounted options. This draws the eye up and makes your room feel bigger. Plus, waking up to a wall of green beats staring at blank walls any day.
Pegboard Organization for Bedroom
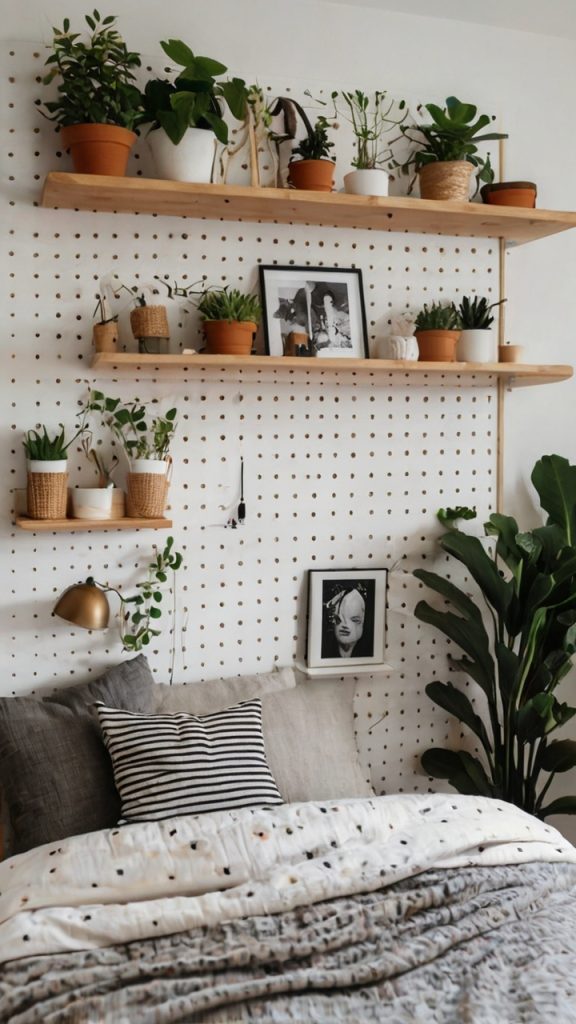
Pegboard isn’t just for garages anymore. A painted pegboard is basically customizable wall storage that looks intentional instead of cluttered.
I installed one behind my desk area, painted it the same color as my wall for a subtle look, and now everything has a place. Jewelry, bags, hats, even small plants hang from various hooks and shelves. It’s organization that doubles as decor, which is basically the holy grail of small bedroom solutions.
The best part? You can rearrange it whenever you want. Bored with the layout? Switch it up. Need more shelf space? Add another bracket. It grows and changes with your needs, unlike that expensive built-in system you’ve been eyeing.
Decorative Mason Jar Storage
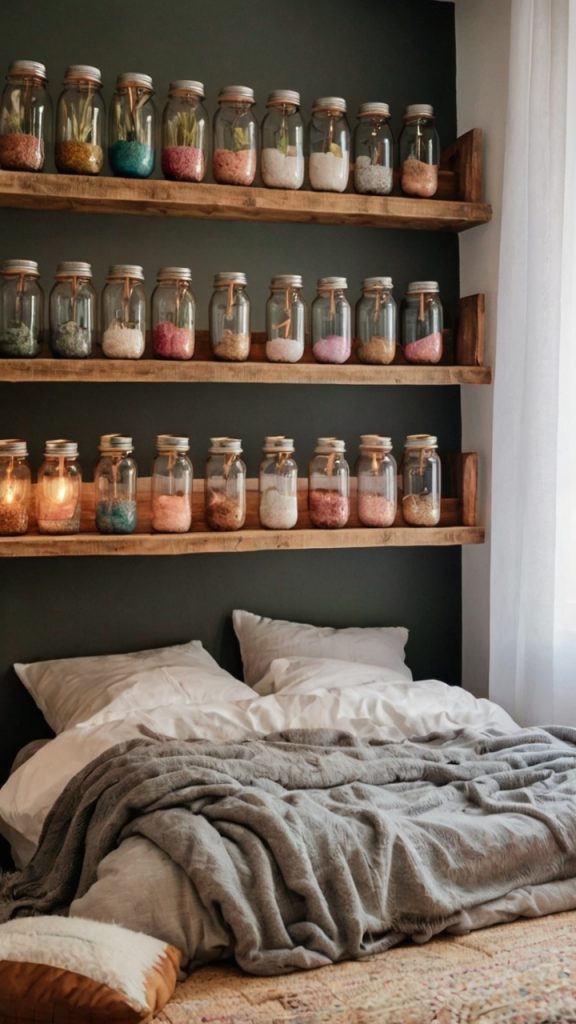
Before you groan about mason jars being overdone, hear me out. When done right, they’re actually genius storage solutions that look way better than plastic containers.
I use them for everything – makeup brushes, pens, hair ties, even fairy lights. The key is consistency. Use the same size jars and add unified elements like metallic spray paint lids or twine wrapping. Suddenly, your clutter becomes decor.
Mount them under shelves with hose clamps for hidden storage that’s still accessible. I have three under my floating shelf holding cotton balls, Q-tips, and bobby pins. It freed up drawer space and looks surprisingly sophisticated 🙂
Wrapping This Up
So there you have it – 12 DIY bedroom decor ideas that won’t require a second mortgage or a design degree. Each project builds on the next, creating a cohesive space that actually reflects your personality instead of looking like a furniture store display.
The best part about DIY? You can start small. Pick one project this weekend. Once you see how easy it is (and how smug you’ll feel showing it off), you’ll be hooked. Before you know it, you’ll be that person giving unsolicited decorating advice at parties.
Remember, your bedroom should be your happy place. These projects aren’t just about making it look good for Instagram – they’re about creating a space where you actually want to spend time. A place that feels like you, quirks and all. Now stop reading and start creating. Your boring bedroom is waiting for its glow-up.